
How to Pressure Wash a Fence Without Damaging Wood or Vinyl
The safest way to pressure wash a fence is to use the lowest effective pressure, a 25° or 40° fan nozzle, and enough distance to keep the spray from cutting into the surface. Wood usually needs 500 to 800 PSI and a 12- to 18-inch standoff, while vinyl should start with a 40° nozzle from farther back. This guide explains the setup, steps, and mistakes to avoid.
Can You Pressure Wash Both Wood and Vinyl Fences?
Wood Needs Lower Pressure and More Patience
With the right setup, pressure washing can refresh weathered wood efficiently and bring back more of its natural grain. Because wood is porous, cedar and pine still need a gentle approach. Excess pressure can leave wand marks, create a fuzzy texture, strip stain unevenly, or push water deep between boards. Older fencing with rot, loose pickets, or peeling paint may be better cleaned by hand or with a soft-wash approach.
Vinyl Handles Water Better, but It Is Not Damage-Proof
Vinyl does not absorb water like wood, so it can usually tolerate a stronger rinse. Still, close-range pressure can dull the finish, force water into joints, loosen caps, or leave visible cleaning stripes. Cracked panels and brittle, sun-aged vinyl should not be pressure washed until damaged sections are repaired or replaced.
What PSI and Nozzle Should You Use for Fence Pressure Washing?
Treat every pressure number as a starting point. Fence age, finish, wood species, nozzle angle, and distance all change the impact at the surface, so test the setup before cleaning the visible panels.
| Fence Material | Starting Pressure | Nozzle | Best Practice |
| Softwood | 500-800 PSI | 40° | Start 18 in. away; move with the grain |
| Hardwood | 800-1,200 PSI | 25° or 40° | Test first; keep the wand moving |
| Painted or stained wood | Lowest effective | 40° | Expect weak coatings to lift; stop if they do |
| Vinyl | Start low | 40° | Begin 18-24 in. away; avoid seams and loose caps |
Why Nozzle Angle and Distance Matter
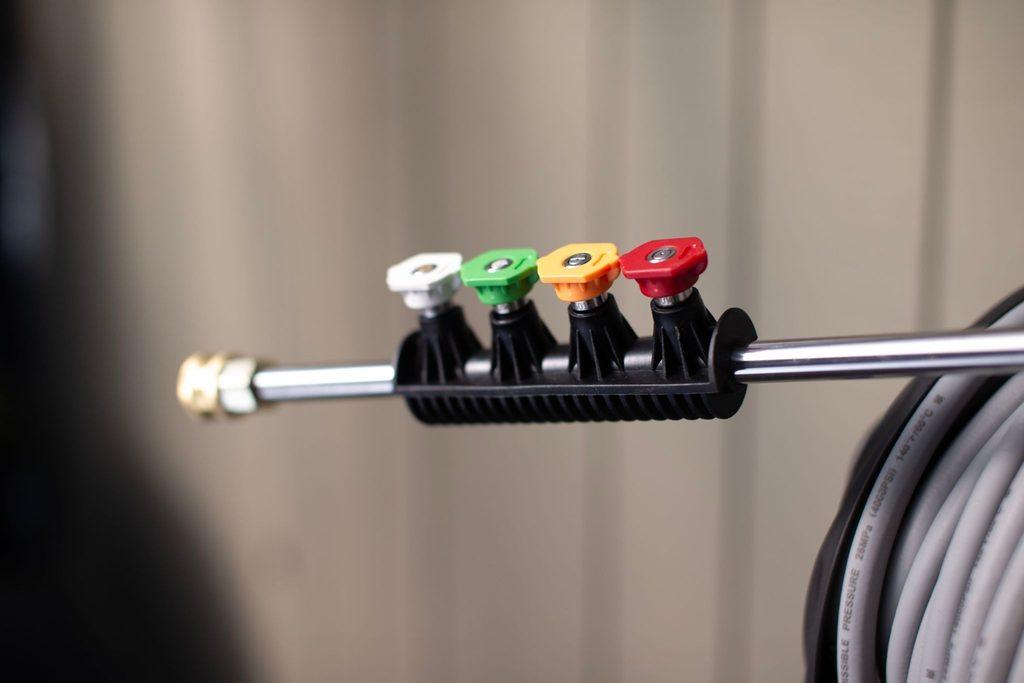
A 0° tip concentrates the stream into a narrow point and can carve wood or etch vinyl. A 25° tip gives more cleaning force for sound wood, while a 40° tip spreads the water over a wider area and is the safer first choice for softwood, old finishes, and vinyl. Choosing a pressure washer with multiple fan-nozzle options makes it easier to match the spray to each fence material. Start farther back than you think you need to, then adjust one variable at a time until the surface cleans evenly.
How Do You Prepare a Fence Before Pressure Washing?
Inspect the Fence Before You Add Water
Walk both sides of the fence. Look for rot, cracked boards, loose fasteners, peeling paint, open electrical boxes, damaged vinyl panels, and gaps that could send spray into a neighbor’s yard. Repair weak sections first. A pressure washer will reveal existing damage quickly, but it can also make that damage worse.
Clear the Work Area and Protect Nearby Plants
- · Move furniture, planters, grills, toys, and decorations away from the fence.
- · Close nearby windows and doors, and cover outlets, lights, and anything that should stay dry.
- · Wet nearby grass and plants before applying cleaner, then rinse them again afterward.
- · Keep people and pets out of the spray zone, including the other side of the fence.
A well-planned work area also makes a long fence easier to clean. Giraffe Tools focuses on retractable, space-saving systems that keep hoses organized between passes, helping the setup stay clear as you move from panel to panel.
Choose a Fence-Safe Cleaner
Use a cleaner labeled for the fence material and follow its dilution and dwell-time instructions. Avoid mixing chemicals. On vinyl, start with mild soap for ordinary dirt. On wood, a dedicated exterior wood cleaner can loosen mildew and gray surface grime so the water does not have to do all the work. Never let detergent dry on the fence.
How to Pressure Wash a Wood Fence Without Damage
1. Test an Inconspicuous Section
Install the 40° nozzle, set the machine to its gentlest practical setup, and stand about 18 inches away. Test near the bottom of a less-visible panel. The wood should look cleaner, not rougher. If fibers lift or the surface becomes fuzzy, stop and reduce the impact by increasing distance or lowering pressure.
2. Apply Cleaner in Manageable Sections
Work on one or two fence panels at a time. Apply the cleaner according to its label, usually from bottom to top on a vertical surface to reduce streaking. Let it dwell only as long as directed, and keep the surface wet.
3. Rinse From Top to Bottom With the Grain
Rinse from the top down so dirty water does not run over a finished area. Keep the wand moving in smooth, overlapping passes and follow the direction of the grain. This same controlled, grain-following technique can also help you pressure wash a deck for a clean, even-looking finish. Hold the nozzle at a slight angle rather than driving water straight into seams, board ends, or gaps.
4. Let the Wood Dry Before Finishing
Give the fence at least 24 to 48 hours of dry weather before deciding whether it needs sanding, stain, or sealer. Drying can take longer in shade or humid conditions. Applying a finish while moisture is trapped inside the wood can lead to blotching, peeling, and early failure.
How to Pressure Wash a Vinyl Fence Safely
1. Start With a Garden-Hose Rinse
Loose dust, pollen, and grass clippings may come off with ordinary water. A quick pre-rinse also shows which sections actually need detergent or pressure, reducing unnecessary wear on the finish.
2. Use the 40° Nozzle First
Stand 18 to 24 inches away and spray a hidden area. Keep the fan broad and the wand moving. Vinyl panels can flex, so do not aim directly into joints, post caps, gates, or damaged sections. Move closer gradually only if the surface remains unchanged and the dirt is still holding on.
3. Wash in Small Sections and Rinse Completely
Apply mild cleaner, allow the labeled dwell time, and rinse from top to bottom before it dries. Overlap each pass slightly to avoid stripes. For stubborn marks, use a soft-bristle brush instead of concentrating the spray in one spot.
Which Pressure Washer Is a Good Fit for Fence Cleaning?
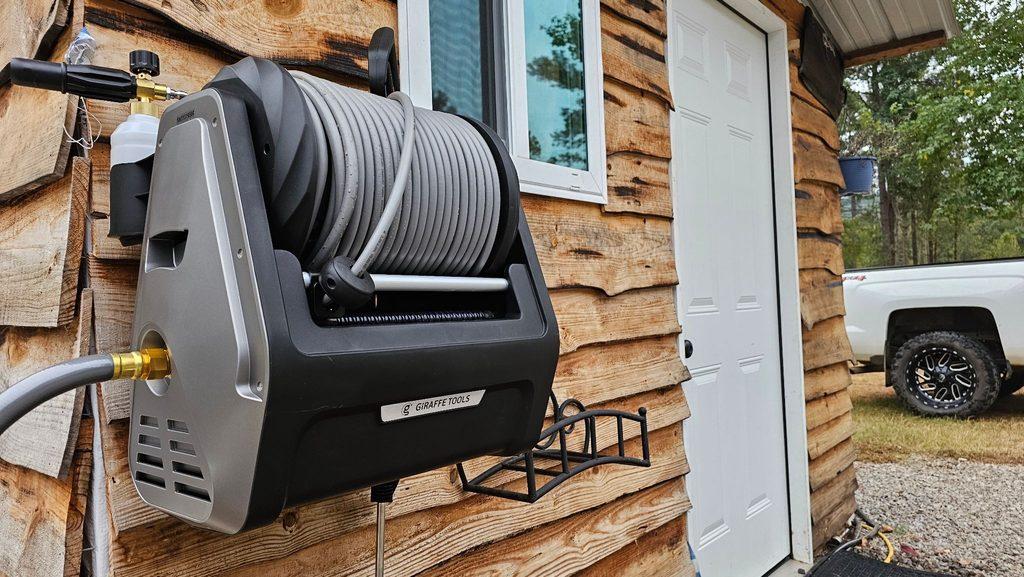
A long fence is easier to clean when the hose can reach the entire run without repeatedly moving the machine. The Grandfalls Retractable Pressure Washer Plus pairs a 100 ft replaceable high-pressure hose with automatic retraction and four quick-connect nozzles, including the 25° and 40° tips used for controlled fence cleaning. Its wall-mounted design keeps the unit in one place while the hose reaches along the yard, which is especially useful for long property lines.
The Plus is rated up to 2,900 PSI and 2.2 GPM, but that maximum rating should not be applied directly to wood or vinyl. For fence work, use the wide nozzle, begin at a safe distance, and let the cleaner loosen the grime before adding more force. The same nozzle-first approach applies to any pressure washer.
What Fence Pressure Washing Mistakes Cause Damage?
- Using a 0° nozzle. The concentrated stream can carve lines into wood and permanently mark vinyl.
- Starting too close. Distance is one of the easiest ways to reduce surface impact.
- Holding the spray in one place. Even moderate pressure can create a visible spot if the wand stops moving.
- Spraying against loose edges. Water can lift paint, stain, vinyl caps, and damaged boards.
- Letting cleaner dry. Dried detergent can leave streaks or discolor the surface.
- Sealing damp wood. Trapped moisture can cause peeling and shorten the life of the finish.
Final Thoughts
Safe fence pressure washing comes down to restraint. Use cleaner to loosen the buildup, begin with a 40° nozzle, keep a consistent distance, and test before cleaning the visible panels. Wood needs lower pressure and time to dry before refinishing; vinyl needs a broad spray that stays away from seams and damaged areas. When the surface—not the machine’s maximum rating—sets the limits, you can remove years of dirt without trading it for permanent damage.
FAQ
How Can I Clean a Wood Fence Without Using a Pressure Washer?
Wet the fence with a garden hose, apply an exterior wood cleaner according to its label, and scrub along the grain with a soft- or medium-bristle brush. Work in small sections so the cleaner stays wet, then rinse thoroughly with low-pressure water. This method takes longer but gives you more control on older or delicate boards.
Will Vinegar Damage a Vinyl Fence?
Diluted white vinegar is generally suitable for light dirt and mineral spots on sound vinyl, but strong or undiluted vinegar may affect the finish if it sits too long. Test a hidden area first, use a mild solution, and rinse promptly. Follow the fence manufacturer’s care instructions when available.
What Should You Put in a Pressure Washer to Clean a Fence?
Use a pressure-washer detergent specifically labeled for exterior wood or vinyl and approved for your machine’s detergent system. Follow both labels for dilution and application. Do not pour household chemicals, solvents, or homemade mixtures into the washer, and never combine cleaning products.
Can You Stain a Fence Without Pressure Washing It First?
Yes. Pressure washing is not required if you can remove dirt, mildew, and loose finish with a fence cleaner, brush, and garden hose. Let the wood dry fully, then sand rough or peeling areas before applying stain. The surface needs to be clean, sound, and dry for an even finish.
How Do You Clean a White Vinyl Fence Without a Pressure Washer?
Rinse away loose dirt with a garden hose, then wash the panels with warm water, mild dish soap, and a soft-bristle brush or microfiber cloth. Work from top to bottom, give stained areas a little extra contact time without letting the soap dry, and rinse thoroughly to prevent streaks.