Picture Perfect Pours: How to Create Professional-Looking Cocktails at Home
Ever scroll through social media and wonder how some people make cocktails that look like they belong in a fancy speakeasy? Those perfect layers, the flawless garnishes, the way the light hits the glass just right. Turns out, creating professional-looking cocktails at home isn’t as mysterious as it seems.
The thing is, most of us can follow a recipe and get the taste right. But making it look like something a bartender would serve? That’s where things get tricky.
The Foundation: Getting Your Glass Game Right
Here’s something people don’t talk about enough: the glass makes or breaks the whole presentation. You could have the most perfectly balanced Old Fashioned, but serve it in a mason jar and it’ll look like something from a backyard barbecue.
Professional bartenders obsess over glassware for good reason. A coupe glass makes even a simple cocktail feel elegant. A rocks glass with a heavy bottom adds weight and seriousness to whiskey drinks. The shape actually affects how the drink smells and tastes too, but honestly, half the battle is just looking the part.
One trick that changed everything for me was chilling glasses beforehand. Pop them in the freezer for ten minutes while you’re prepping ingredients. When you pour that drink into a frosty glass, condensation forms immediately. Suddenly your home bar looks like it has professional-grade refrigeration.
Presentation is key, but choosing the right drink matters just as much—especially when you consider which cocktails are trending in America.
The Magic of Proper Garnishes
Let’s be real about garnishes. Most of us just plop a lime wedge on the rim and call it done. But professional-looking drinks need garnishes that actually complement what’s happening in the glass.
Take citrus peels, for instance. The proper technique involves expressing the oils over the drink’s surface before dropping it in. You twist it between your fingers, watch those tiny droplets spray across the cocktail, then run the peel around the rim. It’s not just for show. Those oils completely change the drinking experience.
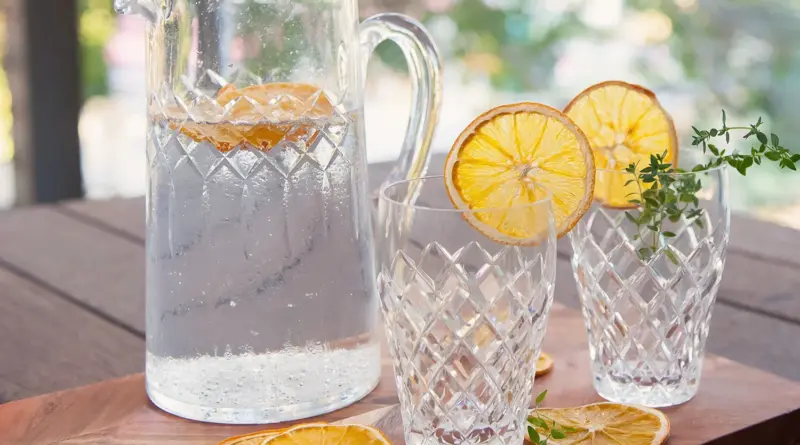
But here’s where dried orange slices really shine. Fresh orange wheels are nice, but they get soggy and sink. Dehydrated versions hold their shape, float beautifully, and add this gorgeous amber color that photographs like a dream. They’re particularly stunning in whiskey cocktails where that caramelized orange flavor works perfectly.
The Temperature Game Nobody Talks About
Professional bartenders are basically ice scientists, and this part’s a bit tricky to master at home. The ice you use determines everything about how your cocktail looks and tastes.
Those cloudy ice cubes from your freezer? They melt fast and dilute everything. Clear ice melts slower and looks infinitely more professional. You can buy clear ice molds, or here’s a weird trick: boil water twice before freezing it. Something about removing the dissolved gases makes clearer cubes.
For stirred cocktails, larger ice cubes are your friend. They chill the drink without watering it down too quickly. For shaken drinks, smaller ice creates better dilution and that perfect frothy texture you see at good bars.
Building Drinks Like a Pro
The order matters more than you’d think. Professionals build cocktails in specific sequences that affect both taste and appearance.
Dense ingredients go in first. Simple syrup, grenadine, anything heavy sinks to the bottom anyway. Then your base spirit, then the lighter mixers. If you’re creating layers, pour slowly over the back of a bar spoon. The liquid cascades down gently instead of crashing through and mixing everything together.
Actually, watching someone build a proper layered shot is pretty mesmerizing. Same principles apply to cocktails, just with more volume and usually less dramatic color contrasts.
Here’s the thing about making cocktails look professional: it’s mostly about paying attention to details that seem insignificant. Clean your equipment between drinks. Wipe down the glass rim. Take an extra second to position that garnish properly.
The difference between a good home cocktail and one that looks bar-quality often comes down to these tiny finishing touches that take almost no extra time but completely transform the final result.