5 Beginner UV Resin Mistakes and How to Avoid Them
Introduction
If you’ve ever scrolled through TikTok or Instagram and watched someone whip up a crystal-clear pendant in minutes, you know how tempting UV resin looks. A little liquid, a UV lamp, and suddenly there’s a shiny charm or keychain. Easy, right? At least that’s what I thought—until I tried it myself.
That’s when reality hit. Sticky surfaces. Bubbles trapped inside. Pieces that hardened outside but stayed soft in the middle. Or worse, a perfect-looking pendant ruined by a stray hair. Honestly, it was enough to make me wonder if resin crafting was worth it.
The good news is that most of these problems are predictable—and preventable. Here are five mistakes I (and almost every beginner) have made, plus how to avoid them.
Mistake 1: Mixing or Measuring Wrong — and How a UV Cure Resin Kit Helps
One of my earliest habits was just “eyeballing it.” Pour a bit, stir a bit, hope for the best. Spoiler: it didn’t end well. Half-cured surfaces, cloudy edges, wasted resin.
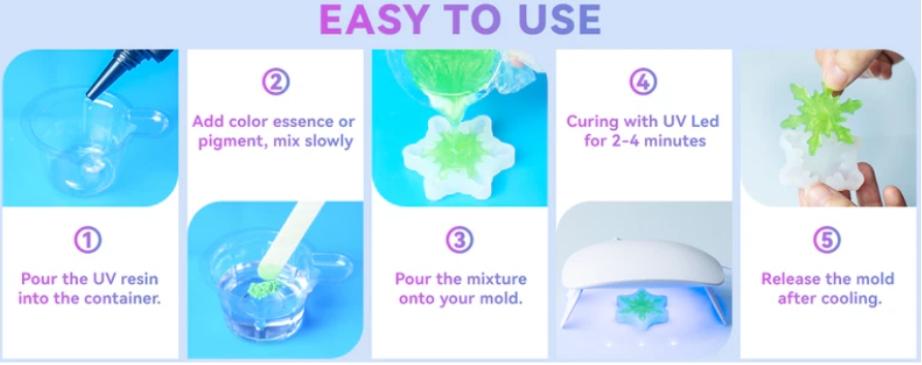
Resin hates shortcuts. Mix too fast and you whip in bubbles. Mix too little and parts of the batch never cure. The trick is slow, steady stirring—scraping the sides and bottom of the cup.
Volume matters too. I once poured way too much into a mold, thinking I’d save time. The surface hardened, but the inside stayed sticky. Straight to the trash.
The simplest way to avoid this? Start with the right tools. A complete UV cure resin kit comes with measuring cups and stir sticks, so you don’t have to guess your way through the basics. It’s designed to take the stress out of mixing and help beginners avoid one of the most frustrating mistakes.
Mistake 2: Using the Wrong Light
The beauty of UV resin is its speed—but only if your lamp is up to the job. Many beginners try random lights or even sunlight. The outcome? The top hardens, the bottom doesn’t, and sometimes the piece yellows over time.
I once bought a cheap lamp that looked like a nail dryer. Fifteen minutes later, my pendant was still tacky. Later, I learned UV resin needs light in the 365–405nm range, with enough power to reach the whole piece. Weak light just won’t do it.
Mistake 3: Pouring Too Thick — Why Bond Craftor Epoxy Resin Is Better for Big Projects
Impatience strikes again. I thought pouring a thick layer all at once would save me time. Instead, I ended up with the dreaded “hard outside, mushy inside.” It looked fine until I pressed it—then it collapsed.
UV light only penetrates a few millimeters. Anything thicker than about 3–5mm simply won’t cure evenly. The workaround is layering: pour 1–2mm at a time, cure fully, and repeat. It’s slower, but the results are stronger and clearer.
But what if you want to go bigger—pendants over a centimeter, coasters, tabletops, or river tables? That’s where UV resin reaches its limit. For those projects, it’s smarter to switch to Bond Craftor epoxy resin. Its deep-pour formulas are made for large volumes, curing evenly from top to bottom while staying crystal clear.
Mistake 4: Ignoring Bubbles and Dust
Bubbles and dust are the silent killers of resin projects. I’ve had keychains ruined by tiny trapped bubbles and pendants destroyed by floating lint. Once it’s sealed, there’s no fixing it.
Letting resin sit before pouring, popping bubbles with a toothpick, or using a dust cover while curing all help. High-quality resin also flows better, reducing the problem from the start.
Mistake 5: Skipping Safety
When I first started, I worked barehanded in a closed room. One day resin stuck to my skin, and within minutes it started itching. Another time, after hours of crafting in poor ventilation, my throat felt raw. That was my wake-up call.
Gloves, ventilation, and a work mat may not sound exciting, but they make resin crafting far safer—and much more enjoyable in the long run.
Choosing the Right Resin for Your Project
One of the questions beginners often ask is: “Should I always use UV resin, or do I need epoxy too?” The answer depends on the size and purpose of your project.
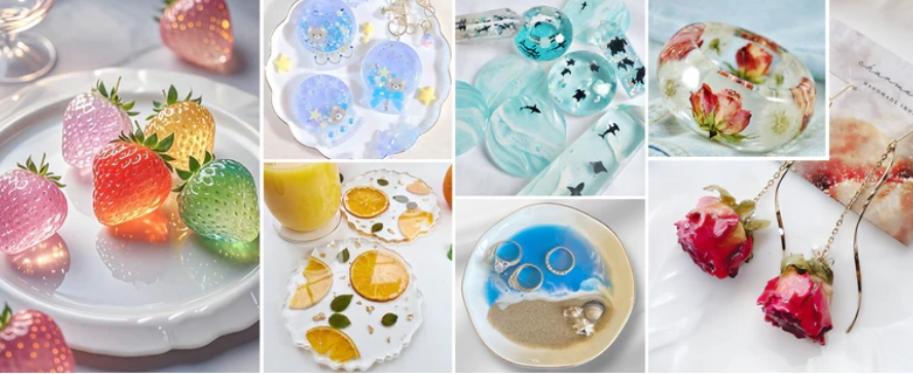
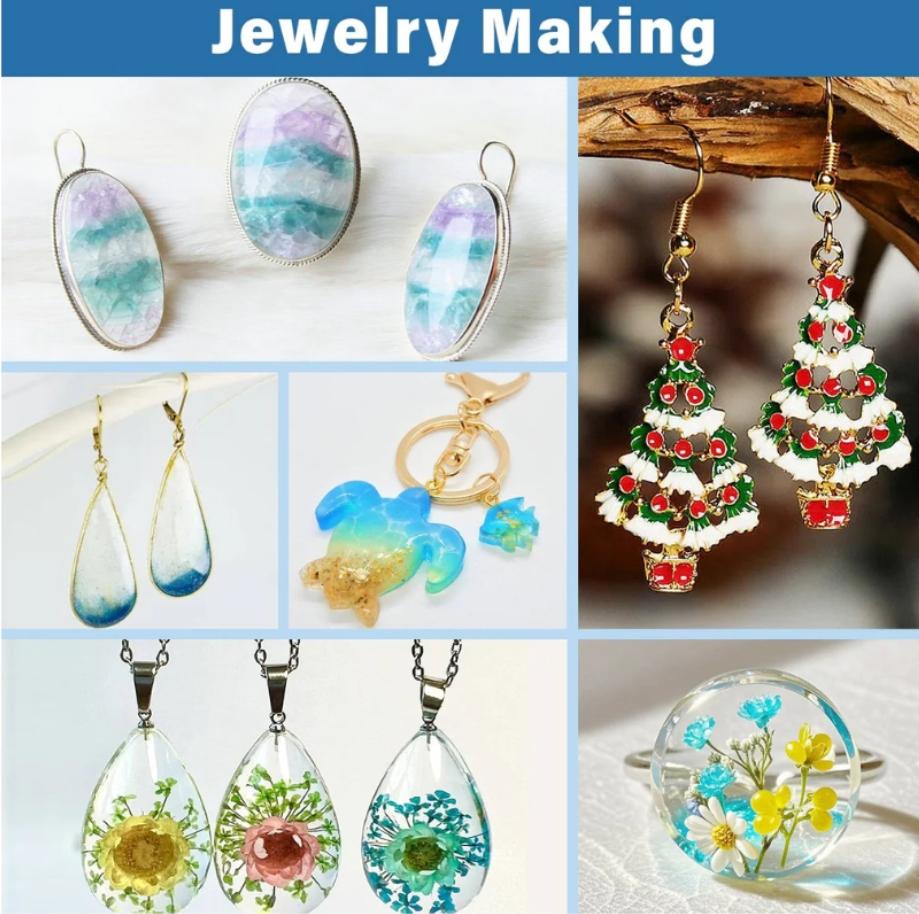
UV resin is fantastic for small, detailed pieces—like jewelry, charms, or keychains—because it cures quickly under a lamp. You get instant results and can finish multiple items in one sitting. That speed is a huge confidence booster for newcomers.
Epoxy resin, on the other hand, is better for larger or thicker projects. If you’re planning to make tabletops, river tables, or art pieces with deep pours, epoxy is the only way to ensure even curing and long-term durability. It may take longer to harden, but the payoff is strength and clarity across bigger surfaces.
Think of it this way: UV resin is your go-to for fast, fun, smaller crafts. Epoxy resin is what you’ll want when it’s time to scale up and tackle ambitious projects. Knowing the difference—and planning ahead—saves a lot of trial and error.
FAQ: Quick Answers for Beginners
How long should you cure UV resin?
Thin layers (1–2mm) usually cure in 2–4 minutes under a proper lamp.
Can UV resin be used outdoors?
Not really. Sunlight cures unevenly, and pieces may yellow with time.
How should UV resin be stored?
Keep it sealed, away from heat and light, in a cool, dark place.
Final Thoughts
Working with UV resin is a lot like learning to ride a bike. You’ll wobble at first, maybe ruin a few pieces, but once you know the common mistakes to avoid, it gets smoother.
From mixing ratios and curing lights to layering and dust control, every step becomes easier with practice. And while no one nails it on the first try, the joy comes from seeing your projects get better, one pour at a time.